How I make Blinkies with Aseprite
Before we start, I just want to make it clear that this tutorial will be covering how to make slightly more complex blinkies with animations and such. For those who just want to make simple blinkies with static text, I'd suggest following this tutorial by moogoomonkey on Tumblr, or using the editor on blinkies.cafe.
Obviously, before doing anything with this tutorial, you have to download Aseprite if you don't have it already. It's about $20 if you buy it normally, but you can get it legally and completely free if you decide to compile it yourself.
Now that we have that out of the way, do you want to make blinkies like these?:


Then just follow this tutorial!
Basic Setup
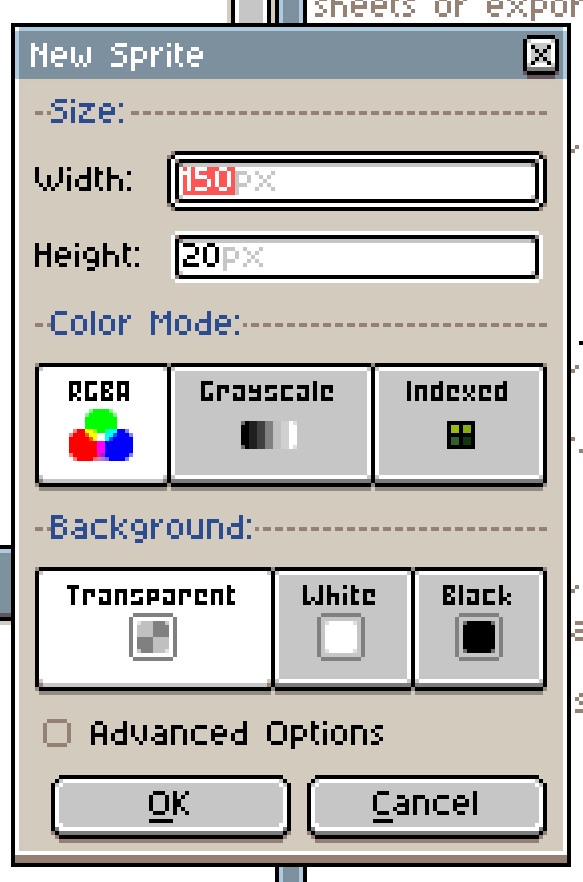
As soon as you boot up Aseprite, click on "New File". Set the canvas to 150 pixels long by 20 pixels high. Make sure the color is set to RGBA, or else you'll be confined to a strict palette, and the graphics you try to import later may look wrong.
Now that you have your canvas ready, make sure that you're timeline is viable. If it's not, just click the tab key to view it.
Set the color of the first layer to whatever color you'd like. To add the blinkie border on top of it, we need a new layer. Go to layer > new > new layer, or hold shift+N to add one.
For the blinkie border, you can either draw a border yourself, or copy and paste these borders from moogoomonkey's aforementioned tutorial into our timeline.


To create an animation, we need to have multiple frames. To add a new frame, just click the plus sign near the bottom right of the screen. You can also go through frames one by one by using your arrow keys.
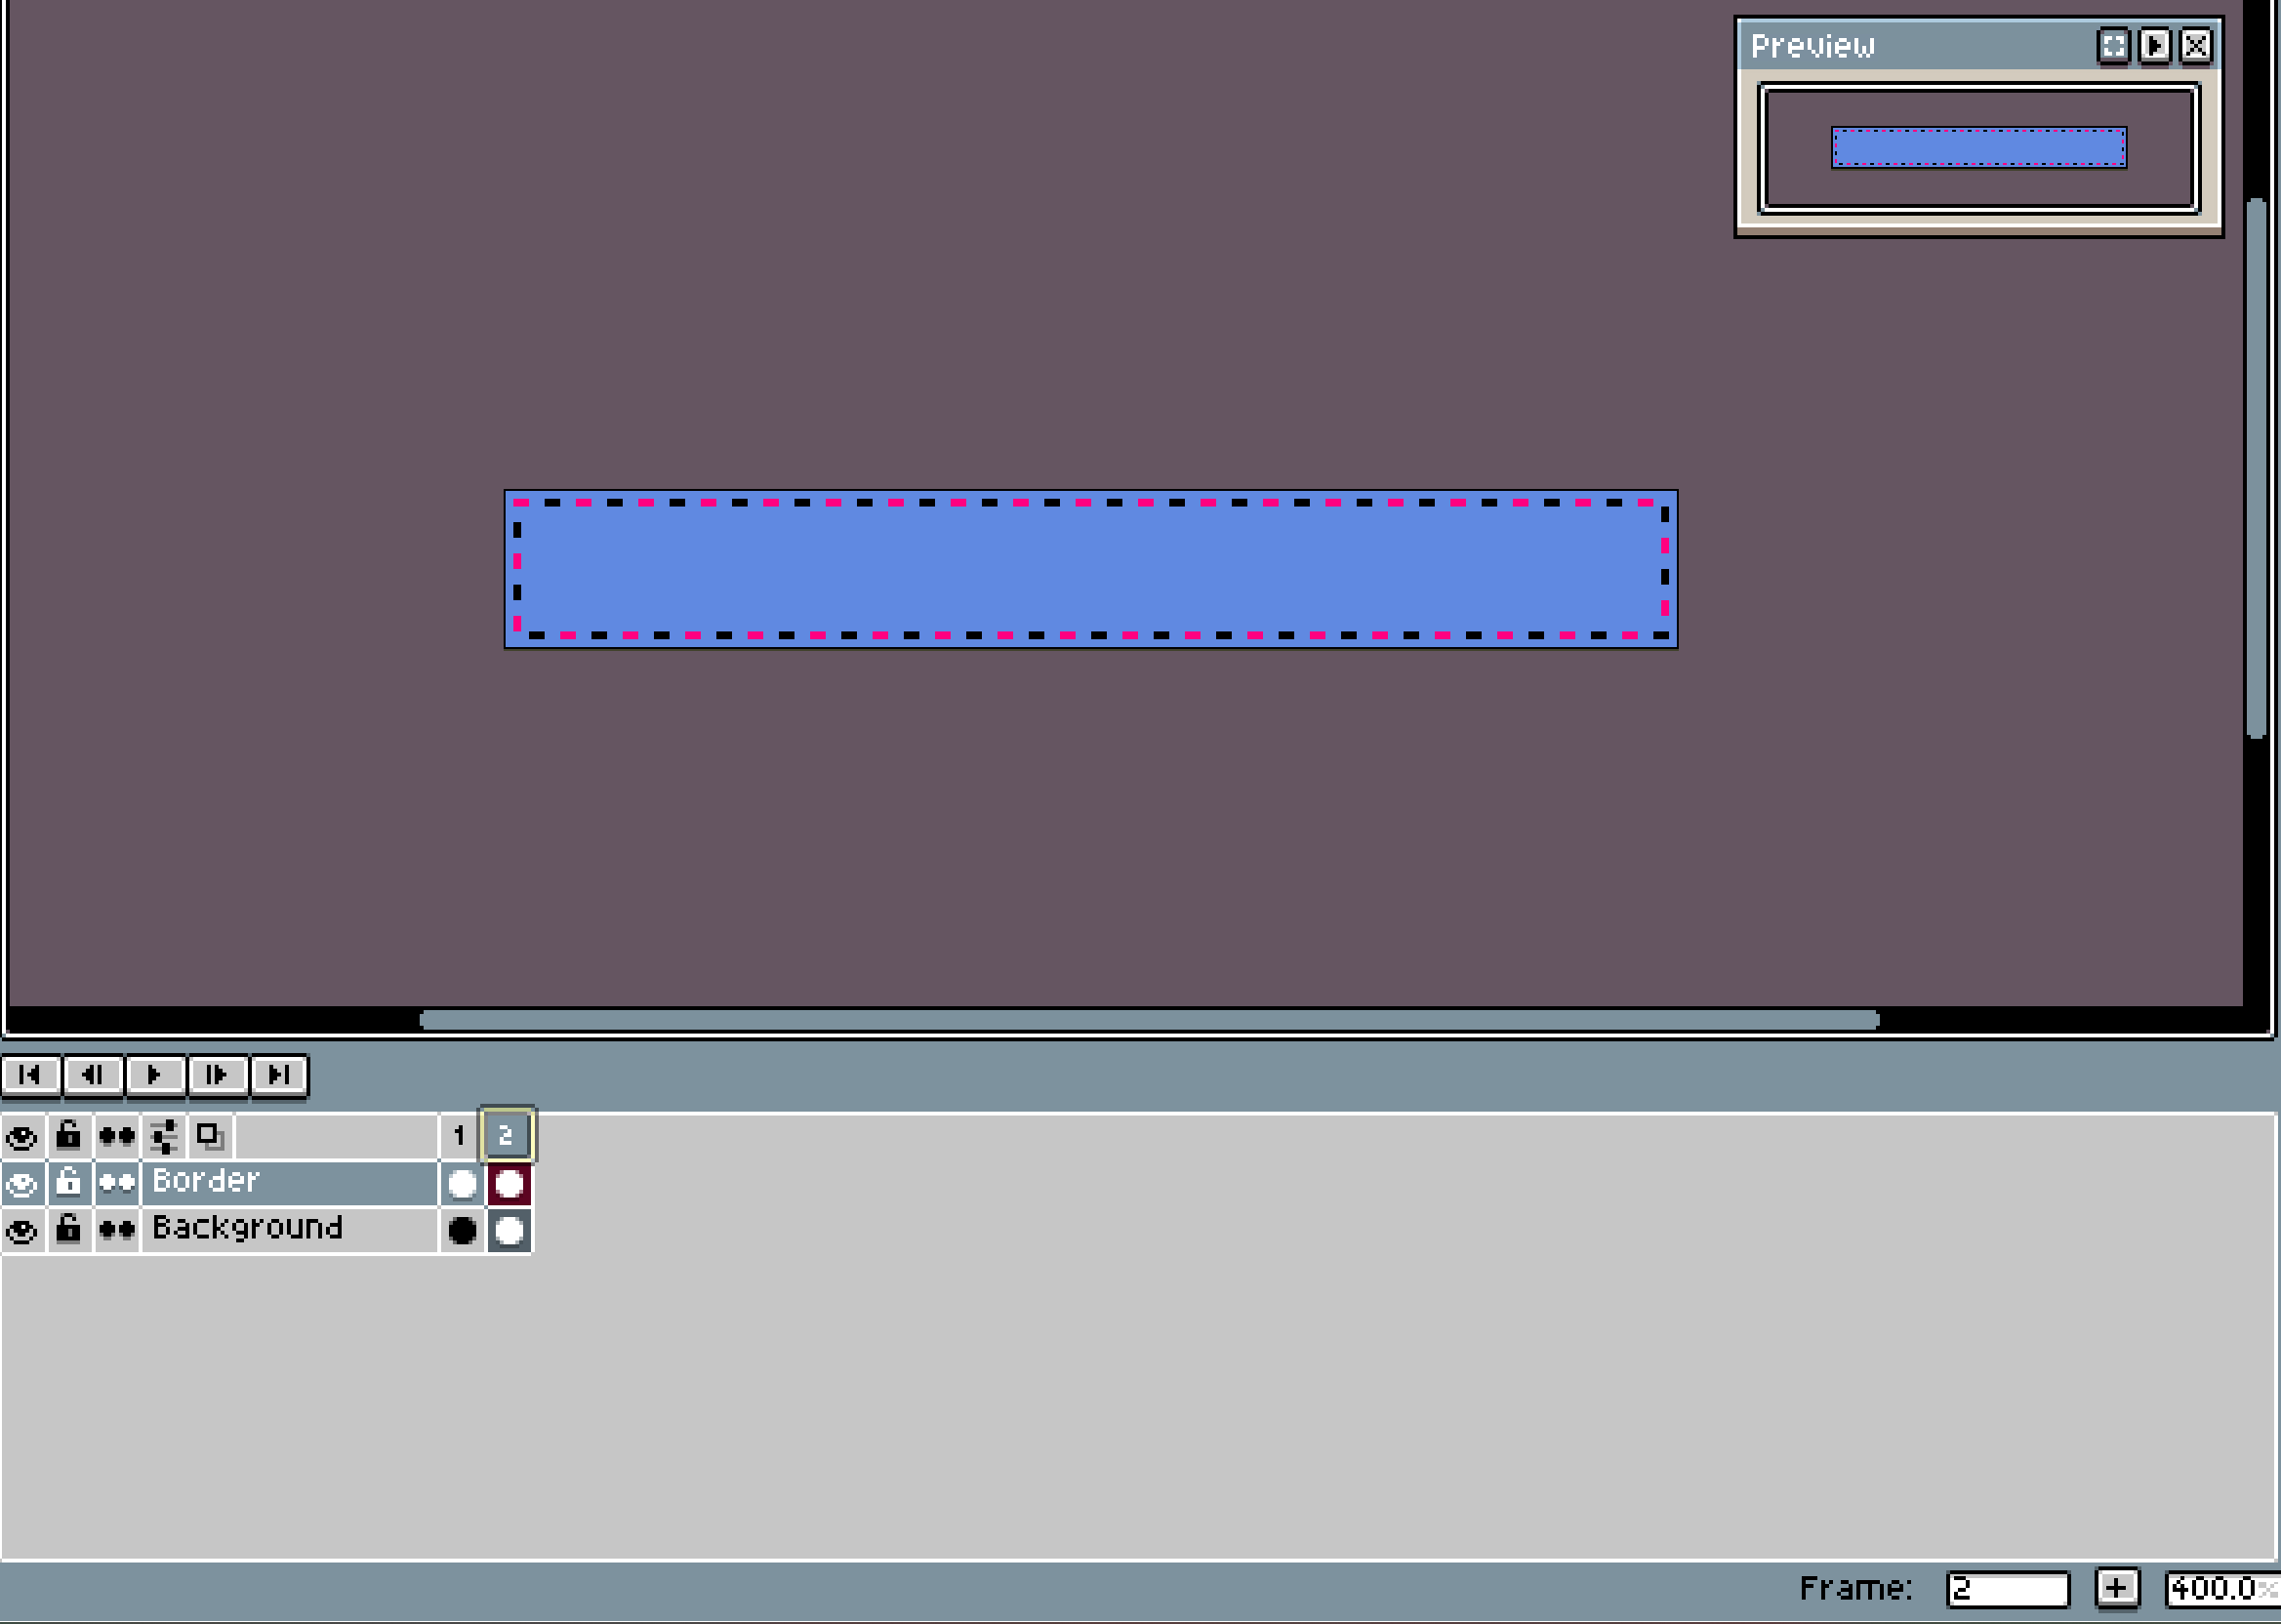
Your project should now look something like this:
Like the background, you can change the colors of the border to be whatever you want.
You can click the little play button on your timeline to preview how the blinking animation looks. If it's too fast or slow for you, you can edit the speed of the animation by going to "Frame Froperties" and changing the duration to whatever you want. Personally, I'd recommend not having the duration less than 100 milliseconds. Too much flashing can cause headaches, eyestrain, or even seizures in some people, and we obviously don't want that.
If you're zoomed in on your blinkie, it helps to also look at the preview pannel, since that's how'll it'll actually look on your website.
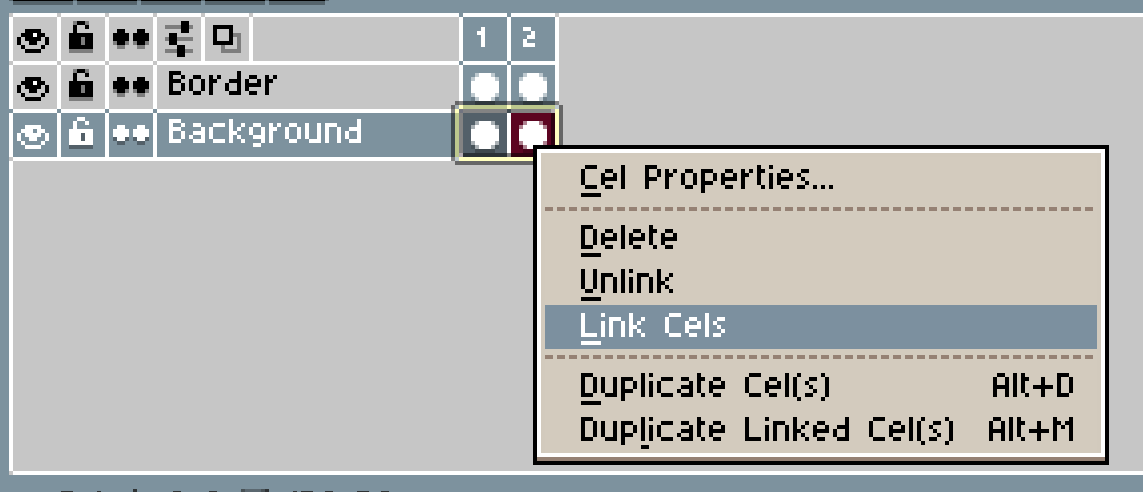
For things that stay static, like the background, you can "link" cells by selecting them both, right-clicking, and clicking "link cells. That'll help us keep track of what is and isn't moving, and make it so that we don't have to copy and paste the same frame dozens of times.
If I exported my blinkie now, it would look like this:

But that's a pretty boring, isn't it? We have to add text!
Adding Text
For blinkies, I'd highly recommend using bitmap or "pixelated-looking" fonts. You can find a whole ton online for free. When downloading these fonts, make sure to check the page for to a recommended size. If you use one without setting it to it's intended size, it might look weird and smushed.
If you don't use a bitmap font, you might sometimes have to check the box for the anti-aliasing, so that the text is still readable. It'll look blurry up close, but clearer when exported or viewed at it's actual size.


Since blinkies are so small, it's generally a good idea to avoid using overly decorative fonts with a lot of serifs.
Once you're ready to add text, just add a new layer and then go to Edit > Insert Text.

Depending on the color of the background, you may also want to mess around with the text color and borders to make it stand out more. Changing the color can easily be done with the paint bucket tool. To add a border around your text, go to Edit > FX > Outline, or click shift+O. Play around with it until you're happy with how it looks. For this example, I changed it to have white text with a black border. It's now a lot easier to read.

Adding Animations
Adding animations can be a little annoying at times, but it's usually not too hard. You can use your own animation or akldfjsadf. smaller pixel stuff works better for this blinkie I'll be using this banana sprite from Deltarune:
download, drag and drop into new Aseprite
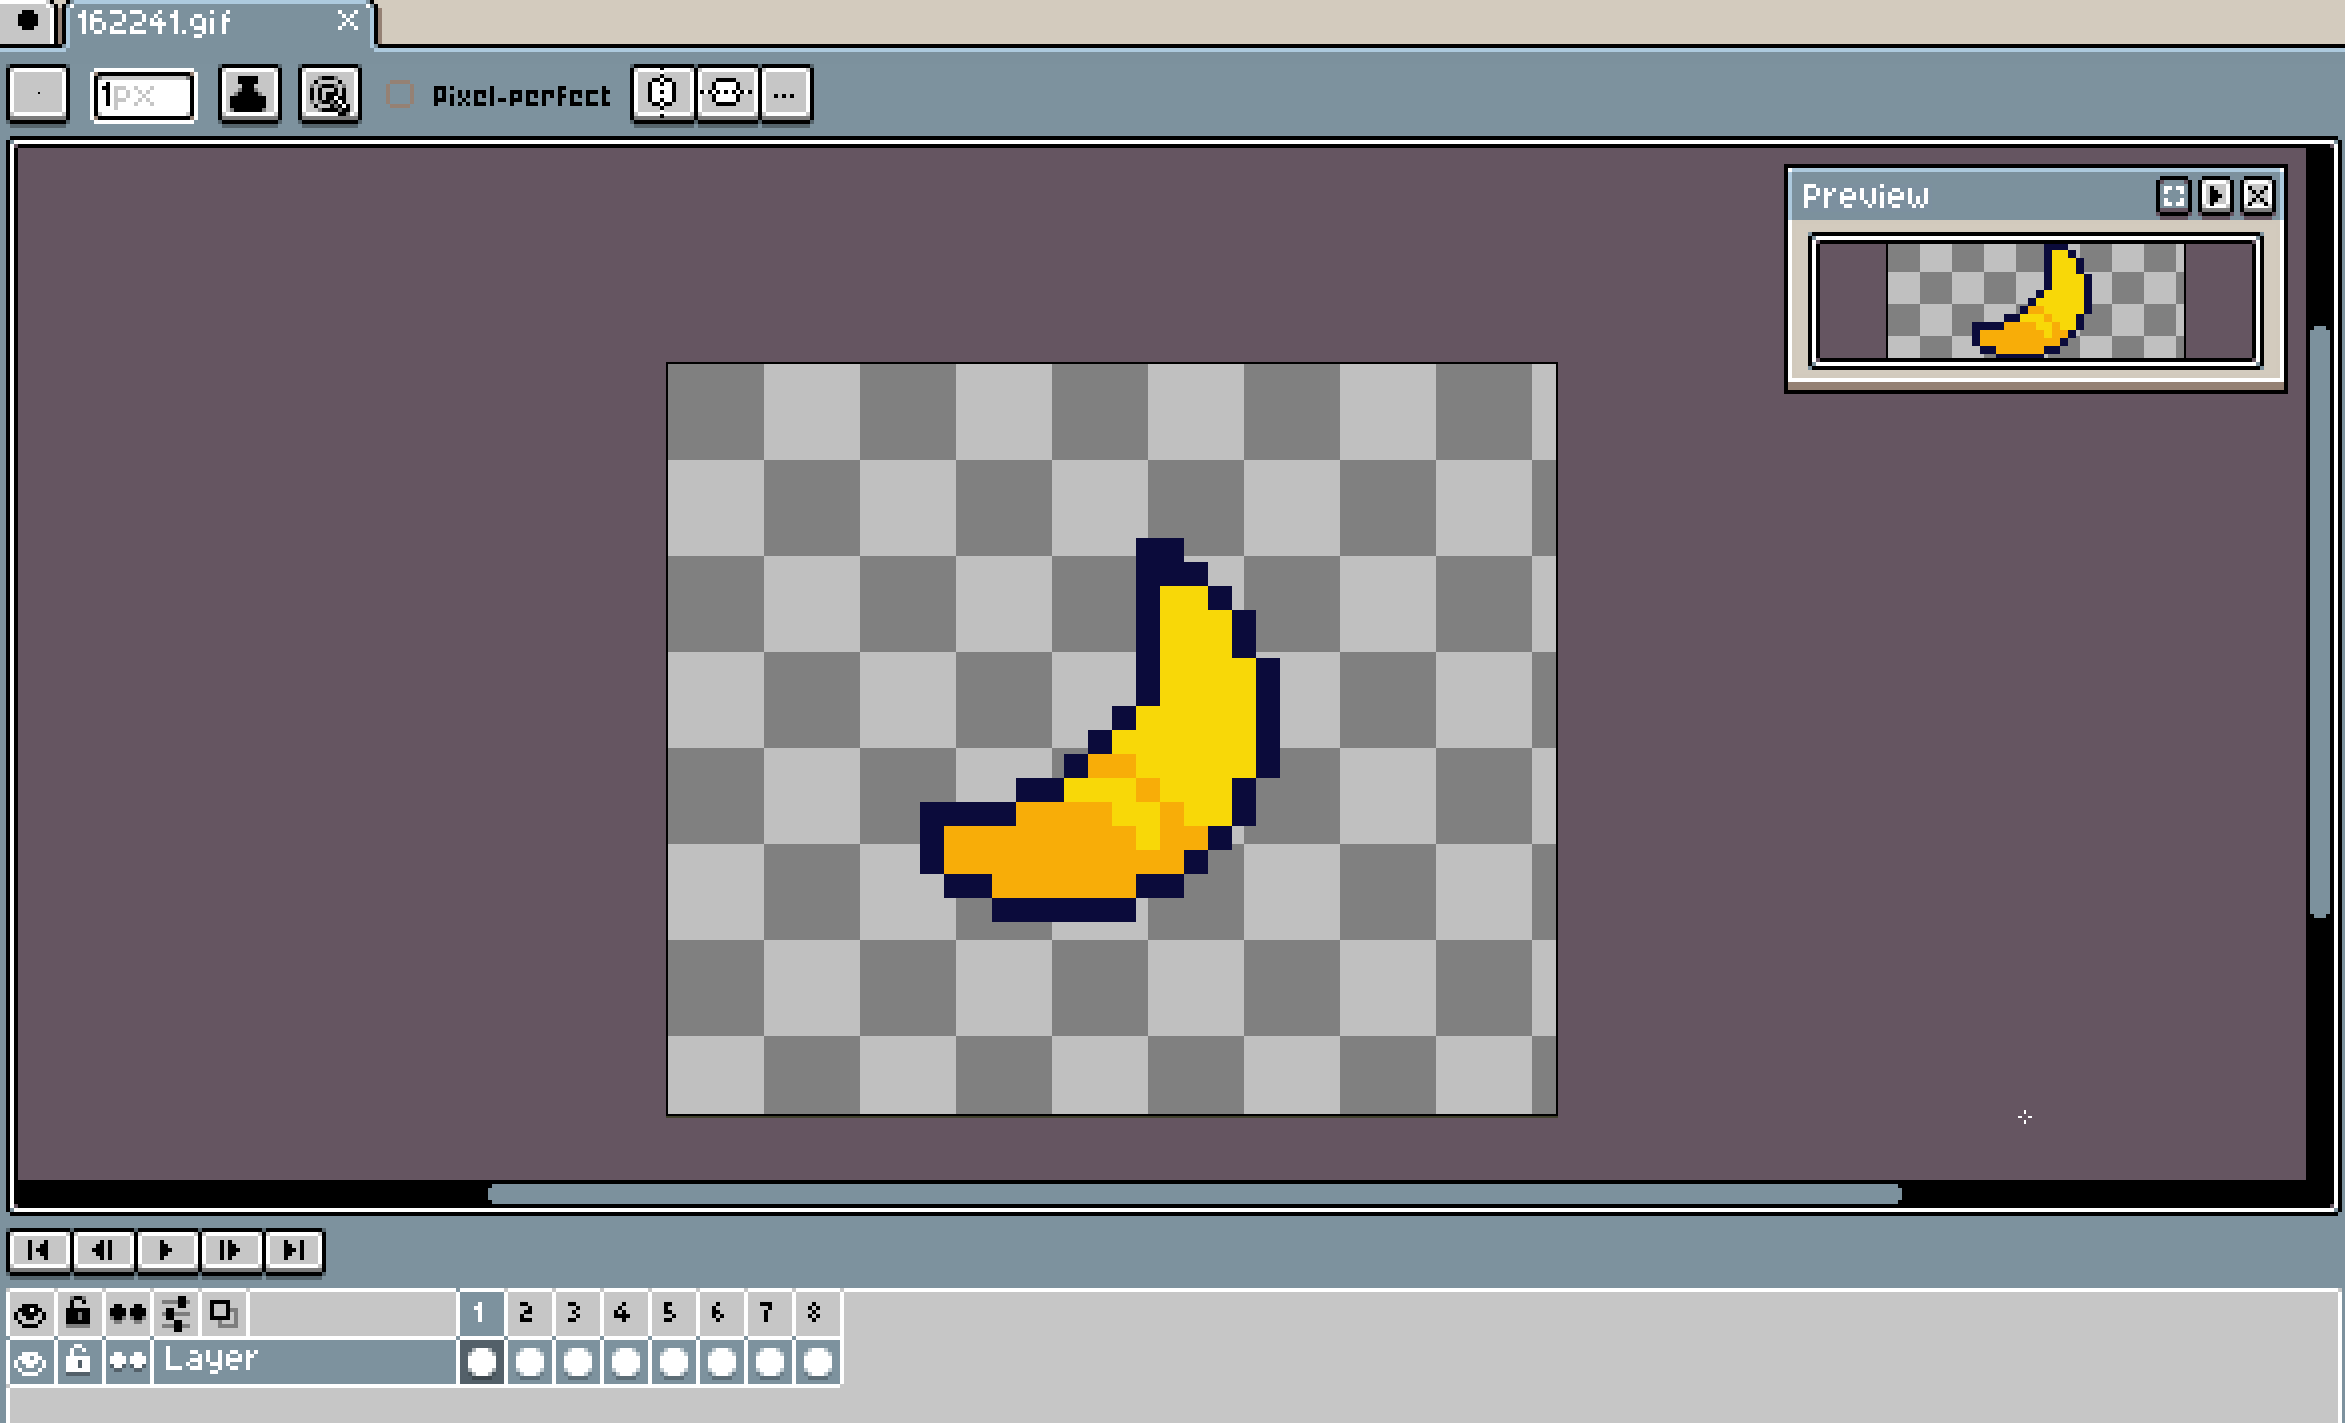
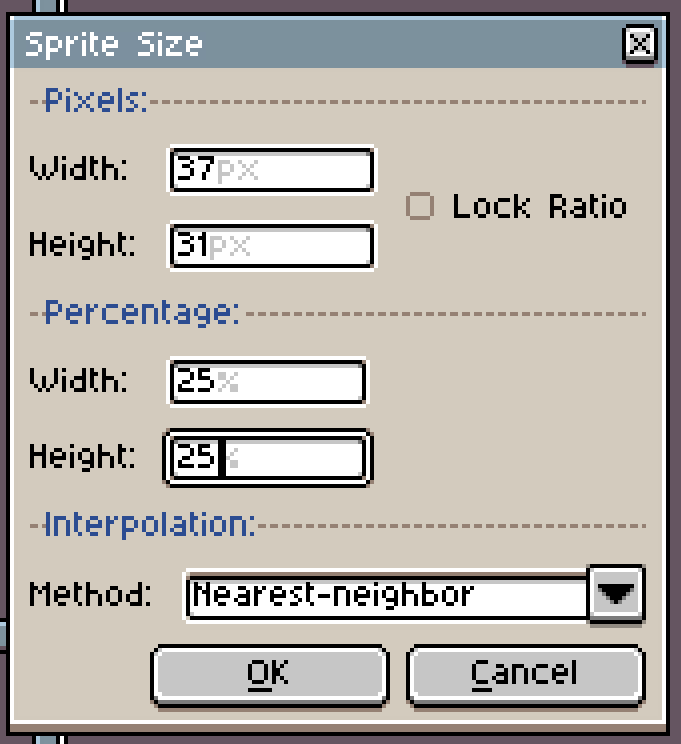
many sprites are upscaled online, ksdfasjldf, double check by comparing to pixel brush, go to sprite size, using 50% but this one was 25%